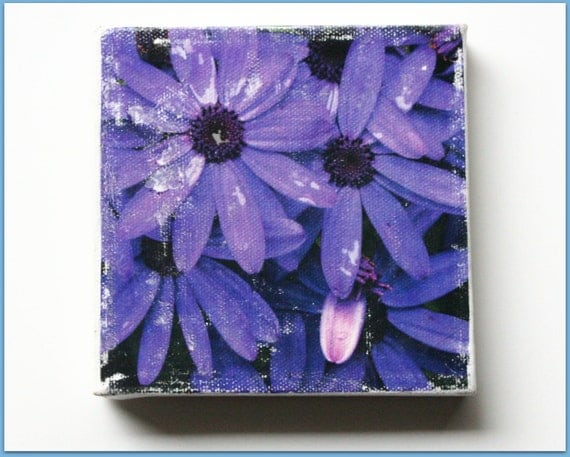
So far I have made 2" x 3" up to 8" x 10". I'm planning on trying larger canvas sizes but would suggest starting small and moving up in size as you get more comfortable with the process and your results.
You will need:
- Blank canvas
- Photo printed with a laser printer on regular paper (not photo paper)
- Gel medium
- Water spray bottle
- Foam paint brush
If you aren't a fan of mess, then you should probably cover your work space with a garbage bag (as Ilene suggests) or newspaper or wax paper. Then take your canvas and give it a thick coating of gel medium (I got mine at a local art store called Blick). I would say thick but not TOO thick otherwise in my brief experience, I end up with more air bubbles to push out and glue oozing out the sides.
 Make sure you have cut your image down to the size of your canvas (or maybe just a bit smaller on all sides). When you print, maybe SURE you reverse your image if you want it to appear correctly once you've transferred it to canvas. Of course you may not have to depending on your image, but remember this if you have any wording in your picture or it will be obvious what you did!
 Gently place your image photo side down onto the gel on the canvas and then carefully push out all air bubbles and make sure your image is flat on your canvas.
This one just so happens to be a mini-canvas and is available in my shop
 Make sure you have cut your image down to the size of your canvas (or maybe just a bit smaller on all sides). When you print, maybe SURE you reverse your image if you want it to appear correctly once you've transferred it to canvas. Of course you may not have to depending on your image, but remember this if you have any wording in your picture or it will be obvious what you did!
  Gently place your image photo side down onto the gel on the canvas and then carefully push out all air bubbles and make sure your image is flat on your canvas.
Let your project dry for 5 hours to overnight. Then the fun begins!
Fill your spray bottle with water. Spray your canvas until the paper is saturated and give it a few minutes to soak in. Then you want to start gently rubbing the paper off with your fingers. Be especially careful around key elements of your image so that they don't get rubbed off -- such as faces. You will probably have to do this step multiple times until your image is completely paper free.
When you are satisfied with your image (and lack of paper on it), allow your canvas to dry thoroughly. Give it a final coat of gel medium and voila -- you have a gorgeous photo canvas!


No comments:
Post a Comment