Showing posts with label photo magnet. Show all posts

Monday, July 22, 2013

Mama Monday - Whoops Edition

I wasn't going to blog today because honestly I didn't really have any "Mama" moments or pieces of wisdom to share. 

And then I wasn't going to blog because I was so excited about tomorrow's blog post... Tutorial Tuesday! I worked on magnets last night (not sure how well they worked out). 

I also created two little pendants that I think look pretty fun. 

I got started on an idea for mini photos on canvas and started by painting some black acrylic paint on them, allowing them to dry. Then today, I decided I wanted to go another way (which doesn't include black paint) and had to change my plans a bit. 

On my lunch break, I went to the art store and got: 
  • gel medium 
  • sponge brushes
I got home and realized that the one thing I hadn't planned on this morning (when revising my plans) was that my prints could no longer be on photo paper (as they had been), they could no longer be ink jet (as they would be if printed on my printer) -- they had to be laser prints! 

I then tried to upload and have them printed at Kinko's but they wouldn't be ready until tomorrow. Not good enough for me in my creative frenzy - nope! So I put the document on a thumb drive and raced up to my local Kinko's to print two copies. So far so good. 

Then I swung by Joann's and got new canvas's to replace those with black paint on them. Good to go - I thought! 

Of course, the second I got into the house I headed for my studio to get started only to realize that I'd forgotten one crucial thing. What could it be? I had totally forgotten to flip the images so that when I put them on canvas they won't be backwards! Ugh. I had three images to do and figured that the one with numbers and letters on it can't be backwards without being noticed nor could the one that albeit small says Blacksmith right on it! 

I couldn't stand not trying at least once canvas tonight (even though it needs to dry for 4-5 hours -- which means after midnight!) so I'm going ahead with the Purple Power canvas... let's see who notices the image is flipped! 

So... long post short (not really)... if you want to see how to make your own photo canvas (different technique than the last one I've shown), tune in tomorrow for Tutorial Tuesday!

Friday, June 28, 2013

Mama Picture This Does Last Thursday - First Time Ever!

Yes - we see you.
The crowd gets bigger.

It gets dark and the crow gets bigger still
(but I didn't remember to change to night setting on my camera).

It ends with LOVE!

Thursday, June 27, 2013

Thankful Thursday - Last Thursday Edition

I know, I know... I have been remiss in posting this week. I meant to post just about every day and had ideas but just got either too tired or too busy. 

Busy with what you might ask. You may well know but if not, I'll tell you what. I am for the first time ever going to have a "booth" (more like a card table) at a local street art fair tonight. The event is called Last Thursday and it is here in Portland, Oregon. 

On their website, organizers describe the event this way: 

"...Last Thursday, the monthly Alberta Arts District festival, is now in its 15th season. Artists, musicians and performers line the street from 15th through 30th Avenues, galleries hold their monthly openings and restaurants and bars hang new artwork for sale. Last Thursday is the largest art event in Portland as well as the most entertaining place to buy local art..."
I am decidedly excited and nervous.  If you'd like more information, you can find it on the FOLT (Friends of Last Thursday) Website.

I have my smart phone and my Square, ready to take credit/debit card purchases, I have a card table (need to pack a chair), I have business cards and of course my wares. Here's some of what I'm bringing: 


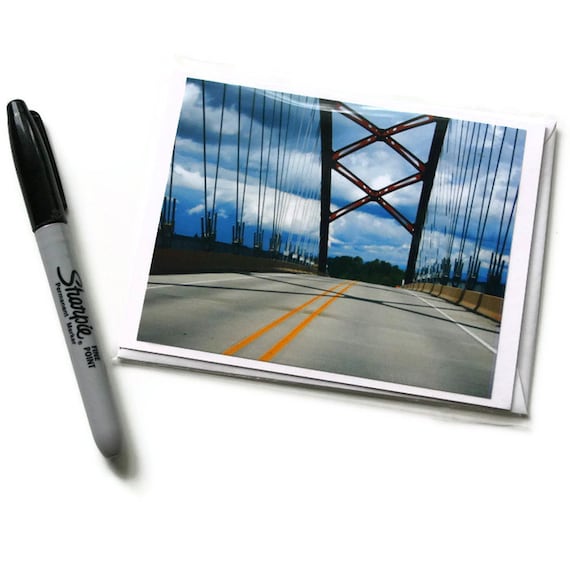
  • Photo Cards:


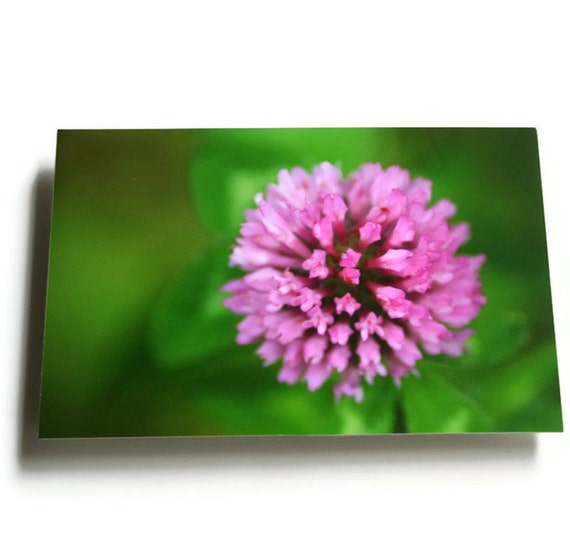
  • Mounted Photo Prints: 

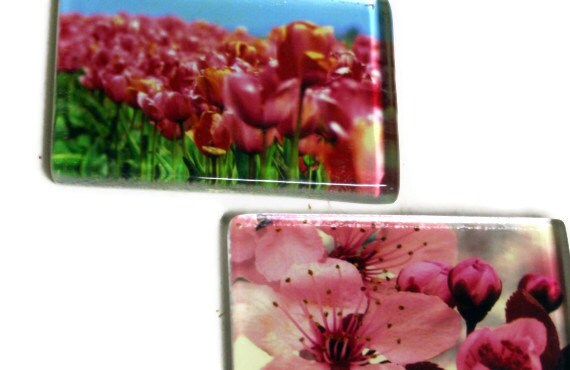
  • Photo Magnets:


My partner in crafting crime who was supposed to be selling with me tonight can't make it but I want to give a shout out to her awesome hand made hot pads and her adorable shop Little Breadcrumb. Hopefully you will see both of us selling our wares at July's Last Thursday on July 25th! 

If you come to Last Thursday, please try to swing by my table and say "Hi!" 

Ciao for now, 
Mama Zuzi


Sunday, June 23, 2013

Studio Sunday - What's in the studio now?

The studio is filling up with things this week as I prepare for my first ever attempt to sell at a street fair. 

Portland, Oregon has a tradition of a fairly formal First Friday which kicks off art exhibits throughout the studios of our fair city. In contrast, the funky and far less traditional Last Thursday in NE Portland combines some art gallery openings along with street art and food vendors. 

I am taking several of my mounted art photo pieces which only needed to be priced and bagged. I'm not taking the larger prints just for ease of set up. 

In addition, I have made photo light switch covers and am in process with a handful of double-thick glass magnets. The floral images were a given, but Bat Penny -- now that is something new -- in magnet form. 
Check out the magnet making tutorial here.

I'm currently working on printing out and putting together a selection of photo cards for Thursday as well. I am printing out some that are already in the shop and a few that have never been. Come to Last Thursday and maybe you can see them for yourself!


And when I'm done with all that, here is my stack of wood for wedding signs. I have 6 5x10's to make as well as a couple of larger ones that can be used during ceremonies. 
Now that you've seen what's in my studio tonight, I thought I'd share a few other artists and what is in their studio too. I love checking out what others are doing -- it is inspirational and fun. Here is a peek into the studio of Cheryl Grant, an illustrator in Virginia.  Check out what's in her studio currently by clicking on the link below:

Illustrated by Cheryl Blog


And for a change of pace, check out the website of local Portland, Oregon artist (and Mama) Jolyn Fry: http://www.jolynfry.com/.  This may not be her studio but you can get a feel for the beautiful art she creates. Check out these artists and maybe, just maybe stop by Last Thursday. We'd love to see you! And last but not least... 
Here's something going in my house, but not my studio. Poor kitty is trying to adjust to the loss of her beloved couch (replaced by two leather chairs), but somehow I think she'll make it! 

Ciao for now, 
Mama Zuzi 

Thursday, June 20, 2013

Playing with Steam Punk

Two blog posts in one day? That's what happens when I end up with an unplanned 4-day rather than my planned-for 3-day weekend at home! 

I'm experimenting with some signs and other ideas for the shop and was trying out a little steam punk feel for some signs and maybe a card... 


I'd love feedback whether you love or hate them or think they'd be JUST RIGHT if only I add a ________________________________________ (you fill in the blank)! 


And don't forget - I am always open to special custom orders and now I even have a custom order button right under my picture in my shop! It's quick and easy to request. And of course, as I mentioned earlier today (previous post), there ARE many ways to say: 

Ciao for now, 
Mama Zuzi

** add your comment below or if that doesn't work, email me!


Tuesday, June 04, 2013

Tutorial Tuesday - Making Magnets

Hey there folks... long time no blog! 

Today is indeed Tutorial Tuesday and I'm going to attempt to show you how I make my large glass magnets. Of course the same basic procedure works for smaller sizes as well (which in fact may be easier). So here goes: 

You are going to want to have the following MATERIALS: 

  • Hard drying glue such as Diamond Glaze (the only one I trust)
  • Glass tiles (make sure one side is flat) 
  • Paper or photo images
  • A craft knife (sharp)
  • Magnets (try to match your size to your glass tiles) 
You can probably find all these supplies at your local craft store. Sometimes I find the Diamond Glaze at Joann's, sometimes I have to go to an art supply store. I generally find the magnets at Joann's as well. The glass tiles should also be available in all sorts of sizes and shapes on Etsy (often called cabochons). 

As for images, I most often use my own photographs and they work well with the Diamond Glaze but not with other glues I have tried. So now that you have your materials, here we go: 

1. Choose your image. I'm cutting mine down to fit my glass but you can also print out an images the size of your glass.
2. I cut out part of my 4"x6" image to the same dimensions as my glass piece. You can also print them to be the size you need. 

3. Next I trim the image with a straight edge and my knife or with a good cutting board. Make it just slightly smaller all around than your glass. I also like to (on square and rectangular magnets) trim the corners just a tiny tiny bit. 

4. Put an even covering of glue over the entire flat side of the glass and be sure to go all the way to the edges. You want to be sure to fill it in and try to pop any air bubbles you can. 

5. Press the glass down on top of the images, pressing firmly to squeeze out air bubbles. Flip over and let dry for a couple of hours or all day or night if you have the time. 


 6. Once dry, take your knife and carefully cut off any glue residue left around the edges and along the back. 


7. Seal the back along the edges where you can still see glass and then fill in the rest of the back with a nice thick coat of the glue. Then carefully place your magnet (or magnets) and push down firmly until they set. 

8. Let dry for several hours again or overnight. 

9. Then clean up residual glue from the glass and you've got a magnet! 


Another great tutorial showing smaller magnets can be found OH My! Handmade Goodness. You can find their glass magnet tutorial here. You should check it out!

Happy making! Feel free to share your magnets with me and if you don't feel like making your own, you can order one from me in the Mama Picture This Etsy Shop here

Mama Zuzi