Showing posts with label Hodge Podge. Show all posts

Tuesday, July 23, 2013

Tutorial Tuesday - Photo Canvas Laser Printer on Paper Method

I have seen many different ways to put photos onto a canvas. 

I put my purple power photo onto a canvas before by mounting a photo print directly to the canvas and then using Hodge Podge and paint to give it texture and a bit of a canvas art feel. I was happy to sell this to someone who loved it as much as I did at last month's (and my first) Last Thursday in Portland! 


With a Miniature show coming up at Side Street Gallery, I was moving forward with several small photo canvases with this same method when I realized there was a different way that I wanted to try! Thanks to Ilene over at the "Come on Ilene" blog for sharing your wonderfully simple tutorial:  Make Your Own Canvas Prints. I followed her directions last night and came up with this new version of "Purple Power": 


So if you want to give this a try, I might suggest starting small and working your way to larger sizes of canvas when you get comfortable with the technique. Right now I'm specifically making ones that are small (mostly 2.5" x 3.5"). 

You will need: 

  • Blank canvas
  • Photo printed with a laser printer on regular paper
  • Gel medium
  • Water spray bottle
  • Foam paint brush
  • Option sponge
If you aren't a fan of mess, then you should probably cover your work space with a garbage bag (as Ilene suggests) or newspaper or wax paper. Then take your canvas and give it a thick coating of gel medium (I got mine at a local art store called Blick's). I would say thick but not TOO thick otherwise in my brief experience, I end up with more air bubbles to push out and glue oozing out the sides. 

Make sure you have cut your image down to the size of your canvas (or maybe just a bit smaller on all sides). When you print, maybe SURE you reverse your image if you want it to appear correctly once you've transferred it to canvas. I made this mistake last night and think I've learned my lesson. Gently place your image photo side down onto the gel on the canvas and then carefully push out all air bubbles and make sure your image is flat on your canvas. 

Let your project dry for 5 hours to overnight. Then the fun begins! 

Fill your spray bottle with water. Spray your canvas until the paper is saturated and give it a few minutes to soak in. Then you want to start gently rubbing the paper off with your fingers. Be especially careful around key elements of your image so that they don't get rubbed off -- such as faces. You will probably have to do this step multiple times until your image is completely paper free. 

When you are satisfied with your image (and lack of paper on it), allow your canvas to dry thoroughly. Give it a final coat of gel medium and voila -- you have a gorgeous photo canvas! 

Unfortunately for you (or me maybe) all of my little canvases are down in my studio drying for a few more hours before I can finish and share with you. Maybe tomorrow on "What a Shot" Wednesday! Stay tuned. 

Sunday, June 30, 2013

Studio Sunday

It is Sunday once again and time to check in on what's happening in my studio. 

This week my mind has been on weddings (when it wasn't on Last Thursday). And while I also have contest prizes to make and distribute, I haven't felt up to making t-shirts given the heat. 

And so without further ado, is a sneak peek at what is in my studio: 

Wood:

Photo Print:
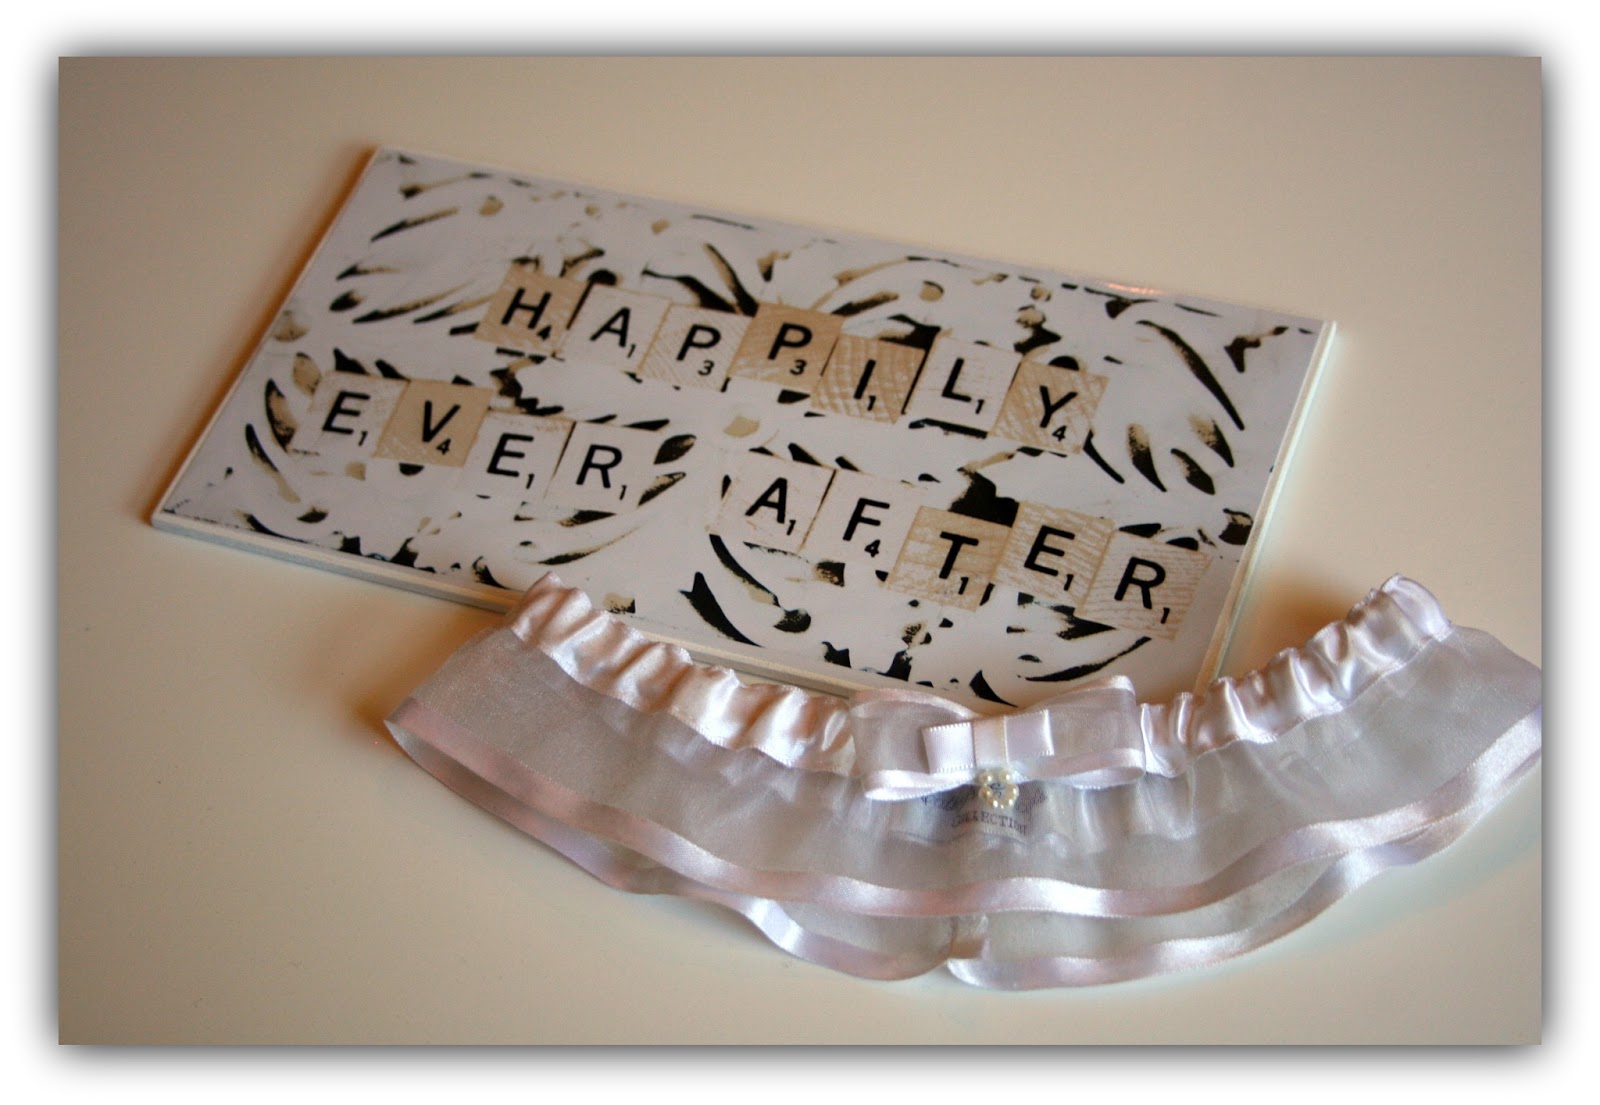
Wedding Props:

 And a nearly completed sign looking ready for the festivities:


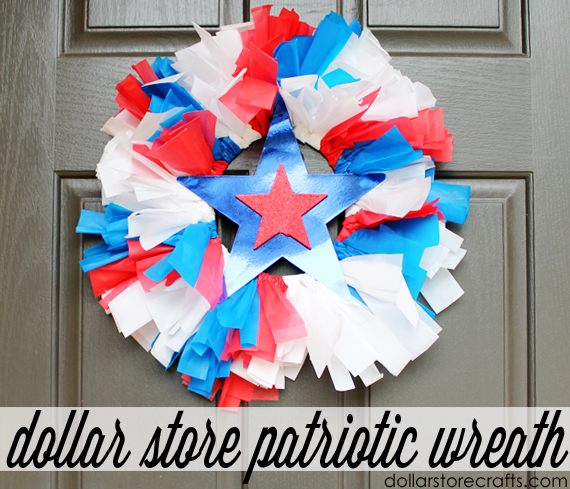
If you are feeling inspired, patriotic or both, check out what's going on in the studio over at the Dollar Store Crafts Blog: 


and if you need a little more of a nudge to get your "creative on"... Bobbi over at the "How Does She" blog has 6 ways to stretch your creativity! I want to do at least a few of these.

Now I have to go pick up MY Mama at the airport for her summer vacation visit! 

Ciao for now, 
Mama Zuzi

Sunday, June 23, 2013

Studio Sunday - What's in the studio now?

The studio is filling up with things this week as I prepare for my first ever attempt to sell at a street fair. 

Portland, Oregon has a tradition of a fairly formal First Friday which kicks off art exhibits throughout the studios of our fair city. In contrast, the funky and far less traditional Last Thursday in NE Portland combines some art gallery openings along with street art and food vendors. 

I am taking several of my mounted art photo pieces which only needed to be priced and bagged. I'm not taking the larger prints just for ease of set up. 

In addition, I have made photo light switch covers and am in process with a handful of double-thick glass magnets. The floral images were a given, but Bat Penny -- now that is something new -- in magnet form. 
Check out the magnet making tutorial here.

I'm currently working on printing out and putting together a selection of photo cards for Thursday as well. I am printing out some that are already in the shop and a few that have never been. Come to Last Thursday and maybe you can see them for yourself!


And when I'm done with all that, here is my stack of wood for wedding signs. I have 6 5x10's to make as well as a couple of larger ones that can be used during ceremonies. 
Now that you've seen what's in my studio tonight, I thought I'd share a few other artists and what is in their studio too. I love checking out what others are doing -- it is inspirational and fun. Here is a peek into the studio of Cheryl Grant, an illustrator in Virginia.  Check out what's in her studio currently by clicking on the link below:

Illustrated by Cheryl Blog


And for a change of pace, check out the website of local Portland, Oregon artist (and Mama) Jolyn Fry: http://www.jolynfry.com/.  This may not be her studio but you can get a feel for the beautiful art she creates. Check out these artists and maybe, just maybe stop by Last Thursday. We'd love to see you! And last but not least... 
Here's something going in my house, but not my studio. Poor kitty is trying to adjust to the loss of her beloved couch (replaced by two leather chairs), but somehow I think she'll make it! 

Ciao for now, 
Mama Zuzi 

Tuesday, June 18, 2013

Tutorial Tuesday - Photo Light Switch Cover

1. Select your photo and size it to the size of your your switch cover. 

2. Tape either a sheet of tissue or other soft nubbly paper to an 8.5 " x 11 " paper to help it go through your printer and print.

3. Cut out your image just slightly larger than your image. 

4. Glue down your image onto the switch plate cover.
I used a spray adhesive. 

5. Paint over your image carefully with a layer of Hodge Podge.
 
6. Using a natural sponge, I like to add a soft white (or other color) border. 
And now ... unlike on television cooking shows ... my switch plate must dry. Visit tomorrow for the big reveal. Sorry if this tutorial feels a little "thrown together" but I have been busy and finding it hard to not only find a tutorial to share but do it and photograph it too! 

In the mean time, you may want to check out this fun DIY switch plate cover with splattered paint. Don't forget the drop cloth! 

http://www.cutoutandkeep.net/projects/splat-light-switch-cover

Ciao for now, 
Mama Zuzi 

Thursday, May 30, 2013

All in the family

While I admit that Mama Picture This is my shop and to-date sells only items made by me or my own photos, I am getting a little help from my family. 

The hubby and I headed over to Home Depot last night to purchase some hard board for making my wedding (and maybe other) signs and we also got him a new drill bit set so that he can drill holes for my kid bedroom signs and I can add lovely gauze ribbons and/or jute for those who want them. I had earlier gone on my own to Joann's to purchase the ribbon, jute and a good hole punch too! Is it sad that this stuff is fun and exciting to me? ;-) I am also excited that my husband may be helping me by making recycled picture frames to sell in the shop along with my photos! It is fun having projects together and a great excuse to spend quality time together too. 


Working on ideas for bridal signs
As for my daughter, you may recall me sharing some pics of her hot pink duct tape handbag recently. I have offered to try to sell a few of her uber-creative projects, but she wants to have HER OWN shop and HER OWN blog etc. So for now... you guessed it ... she's on HER OWN!

So I was a little more than surprised (pleasantly) when I asked my 13-year old son to help me imagine what a younger boy might like to use to hang up his door sign if he was going to have one for his bedroom. He actually offered up either some sort of metal chain or twine (ended up with jute cause it is a bit thicker/sturdier)! Of course later when I told his Dad that he was helping me as my consultant, I think he said something along the lines of "meh huh wha? na relly..." or something like that. 


Tonight is made for crafting
Regardless of what he said (as if it could be translated), he did help me out and it was awesome. These days I really relish actual conversations with my boy because they don't happen as often as I'd like. 

Still a ways to go, but hanging photos make the space nicer
Something else that isn't happening as often as I'd like is comments on this blog. Come on people... my Blog Birthday Comment Contest will be over in one week's time!

The rules are easy: 
1. Comment on the Mama Picture This blog between now and June 6th
2. Share the post that includes your comment ... on Facebook, Twitter, etc.
3. You are automatically entered in a random drawing on June 7th (my bday)
4. Winner receives a t-shirt & 4-pack of photo cards (you choose the photos)
5. 2 Runners up win an 8x10 (or 8x8) photo print of their choosing! 

*** In addition, I will donate 5% of every sale in my shop between now and my birthday to Leukemia & Lymphoma Society (in honor of my Dad). 

For those of you whose name I will recognize, feel free to comment anonymously but just include your name and last name initial in the body of your comment! 

Ciao for now,
Mama Zuzi 

Tuesday, May 28, 2013

Studio Space Evolution - In the Beginning...

So in the last blog post I showed you a couple of the many awesome studio spaces that I covet. Here's one of them: 

Color coordinated, loads of organized paper, personal style represented... ahhh that would make me happy. 

I'm not sure just what they are storing in the jars and spice bottles or the cute multi-color shelving on the wall but it looks gorgeous! It also appears to be missing the part of the room where they actually craft -- maybe a desk or work table. 

But alas, my little studio space in our basement is sad in comparison. Here it is even with a few organizational tools to help it get better: 


As you may or may not be able to tell, there are a few things that need to go away (sewing machine) and I have added a couple of organizational pieces: 


Calendar to keep track or orders
Cool photo organizer 
A file organizer + more


We are testing to see if our walls are waterproofed. Then we'll decide whether to paint or dry wall and then paint. I am contemplating various organizational pieces of furniture and want to get a new chair. Suggestions are more than welcome ... or pinterest ideas. By the way, all of these new items in my studio space were purchased in the store at www.storeables.com. I may have to go back! I hear Ikea has some good solutions although they very best one I have seen is apparently discontinued. Argh. 

Well ... since it is 8 a.m. on the West Coast and I have to get my munchkins moving on this rainy Monday-ish Tuesday, I'll be going for now.

Ciao, 
Mama Zuzi

Sunday, May 26, 2013

Things I'm Liking Sunday - Memorial Day Weekend Edition

1:   I'm really liking organizational tools for crafting studios. Mine is a stuffy hole in the basement with a giant desk with loads of potential but in need of some serious design, planning, organization and love. 

Pinterest is bursting with ideas for organizing a crafting space. There are tons of images pinned there that I would be thrilled to emulate in my studio such as these: 


2: I am also in love with the fact that the British TV Series "Doc Martin" is going to start running from the very beginning on my local PBS channel every Saturday Night. What a perfect excuse to get caught up before the next season airs! I just love watching this show set in Port Isaac, England (which doubles as the imaginary Port Wen)... it's gorgeous.


3:  This wedding blue color (I need to get some craft paint in this shade and ribbon too) for bridal signs. 


& 4:  I'm also pleased and liking the newest sign I'll be adding to my shop for boys' (and girls') bedroom doors: 


Available in the shop now, just click HERE!

Happy Memorial Day weekend and please remember the men and women who died while serving in the United States Armed Forces. 
Ciao for now, 
Mama Zuzi

Saturday, April 13, 2013

Making the photo canvas


Prepping the canvas

1. For this version of a photo on canvas, I used a pre-made canvas and painted the sides black. I also carried the paint onto the front of the canvas just about 1/4 inch. 

Adding the photo


2. After the paint dried (left it for a day or two), I cut the image down to be just smaller all the way around than the canvas. 

3. I attached the digital photo onto the canvas with an adhesive spray. 


Sealing/Texturing

4. After an hour or so, I applied hodge podge to the sides of the image and the image itself. In this case, I used a paint roller to give it a bit of texture. I let that dry for a few hours before doing a 2nd coat. 

and voila!


5. Last but not least, after all was dry I added a bit more black to the front edges to blend the photo edges with the canvas. 

You can purchase this very piece online now at:
https://www.etsy.com/listing/129394094/purple-power-flowers-canvas?ref=shop_home_active.

To DIY, you can also purchase most of these items at a Joann's Fabrics near you or any local craft store and the Purple Power (flowers) print at Mama Picture This here: https://www.etsy.com/listing/102793659/purple-blaze-digital-art-print-not? (the listing is for an 11"x11" print but happy to special order 8"x8" or other sizes, just contact me. 


Sunday, September 09, 2012

Sunday, Sunday


It is a fairly typical Sunday around here. We all take a while to wake up and get productive. Some wake up by fiddling around on Facebook while drinking their iced coffee, some play on their ipods, some a little t.v. or computer game. 

Shortly, I will have to get out of my pajamas and really start the day. There's breakfast to be made and eaten, kitchen cleaning to do, grocery list making and then shopping, gerbil cage cleaning and a room to be painted. 

And somewhere in the midst of all that, I'll be finding the time to finish up these two lovely magnets so I can get them to their owners this week. Then maybe next weekend I'll make a few more with various photos from the shop. Is there a particular photo from the Mama Picture This shop that you'd like to see turned into a magnet? 


I do take special orders! 


And while we are chatting... it is back to school time for so many kids and whether they are off to a great year or struggling a bit, check out the "Route Cool" card in the shop. I'm thinking I might give one to kids in my life to encourage them to have a great 1st semester this year! Classic yellow school bus headed for a terrific school year! The kid is cool, school is cool... you name it is a fun bit of educational inspiration!

Happy Sunday y'all! Hope to hear from you soon!